In today’s digital age, audio quality is paramount whether you’re gaming, watching movies, or listening to music on your computer. High Definition Audio (HD Audio) has become the standard for delivering clear and immersive sound experiences. Understanding how to properly connect HD Audio to your motherboard ensures that you can enjoy high-fidelity audio output without any issues. This guide will walk you through everything you need to know about HD Audio connectors, installation steps, troubleshooting tips, and more.
Introduction to HD Audio
HD Audio, also known as High Definition Audio, is a successor to AC’97 (Audio Codec ’97), which was an earlier audio standard. It provides better sound quality and more advanced features compared to its predecessor. HD Audio supports higher sampling rates and bit depths, resulting in clearer and more accurate audio reproduction.
Importance of Proper HD Audio Connection
Connecting HD Audio correctly to your motherboard is crucial for several reasons:
- Sound Quality: Proper connection ensures that you experience the best possible audio quality from your speakers or headphones.
- Compatibility: Most modern motherboards and audio devices support HD Audio, making it the preferred choice for audio connectivity.
- Functionality: Without a proper connection, you may encounter issues such as distorted sound, no audio output, or unrecognized audio devices.
Understanding HD Audio Connectors
Before delving into the installation process, it’s essential to understand the components involved in connecting HD Audio to your motherboard:
- HD Audio Connector: This connector consists of multiple pins that transmit audio signals between the motherboard and external audio devices, such as front panel audio jacks on your computer case.
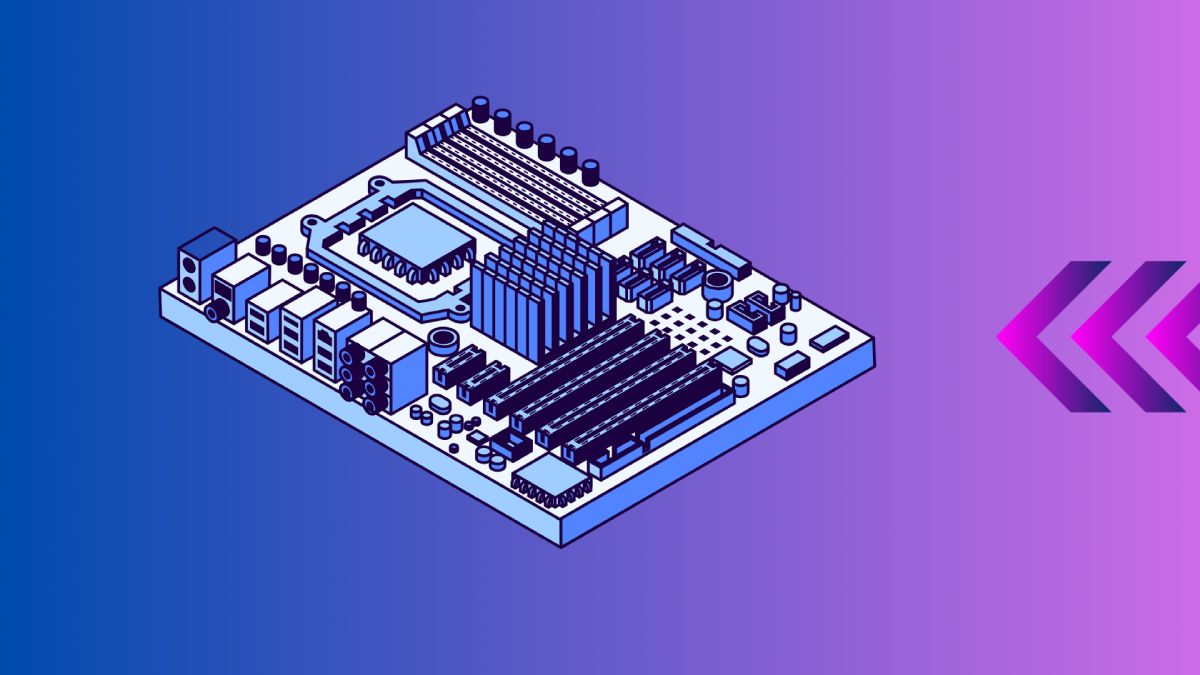
- Motherboard Header: The header on the motherboard where the HD Audio connector is attached. It’s usually labeled “HD Audio” or similar, and its location may vary slightly depending on the motherboard model.
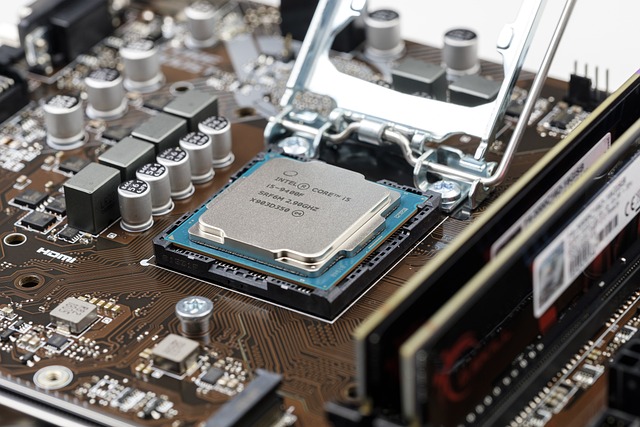
Locating the HD Audio Connector on Your Motherboard
To locate the HD Audio connector on your motherboard:
- Consult the Motherboard Manual: The manual provides detailed diagrams and descriptions of the motherboard layout, including the location of audio connectors.
- Visual Inspection: Look for a group of pins labeled “HD Audio” near the edge of the motherboard. It’s often situated close to other front panel connectors, such as USB headers and power/reset switches.
Steps to Connect HD Audio to Your Motherboard
Now, let’s walk through the step-by-step process of connecting HD Audio to your motherboard:
Step 1: Prepare for Installation
Before starting, ensure you have:
- Your computer case with the HD Audio cable.
- Your motherboard’s manual for reference.
Step 2: Identify the HD Audio Connector
- Check the Cable: The HD Audio cable from your computer case or audio device should have a connector with multiple pins.
- Inspect the Motherboard: Look for a header labeled “HD Audio” or “High Definition Audio” on the motherboard. It typically has 9 to 10 pins arranged in a specific layout.
Step 3: Align and Insert the Connector
- Orientation: Align the pins on the HD Audio connector with the corresponding pins on the motherboard header. The pin layout is standardized, but refer to your motherboard manual for precise details.
- Insertion: Gently insert the HD Audio connector into the motherboard header. Ensure it fits snugly and securely without applying excessive force.
Step 4: Secure the Connection
- Locking Mechanism: Many motherboards have a locking mechanism or latch to secure connectors in place. Engage this mechanism to prevent accidental disconnection.
- Cable Management: Secure the HD Audio cable along with other cables using cable ties or clips to maintain a neat and organized interior.
Step 5: Testing the HD Audio Connection
After connecting HD Audio, power on your computer and perform a sound test:
- Check Device Manager: Verify that the HD Audio device is recognized and listed correctly in the Device Manager (Windows) or System Information (macOS/Linux).
- Sound Playback: Play audio through your speakers or headphones connected to the front panel audio jacks. Ensure that sound is clear and without any distortions.
Troubleshooting HD Audio Connections
Despite following the installation steps, you may encounter issues with your HD Audio connection. Here are some troubleshooting tips:
- Check Cable Orientation: Ensure the HD Audio connector is correctly oriented with the motherboard header. Misalignment can prevent proper signal transmission.
- Update Audio Drivers: Visit the motherboard manufacturer’s website to download and install the latest audio drivers. Updated drivers can resolve compatibility issues and improve audio performance.
- Inspect for Physical Damage: Examine the HD Audio cable for any signs of damage, such as frayed wires or bent pins. Replace damaged cables to restore proper connectivity.
- Test with Different Devices: Connect your audio device to a different motherboard header or use a different HD Audio cable to isolate whether the issue lies with the motherboard or the audio device.
Conclusion
Connecting HD Audio to your motherboard is a straightforward process that enhances your overall computing experience by delivering high-quality sound output. By following the steps outlined in this guide and troubleshooting common issues effectively, you can ensure optimal audio performance for gaming, multimedia, and everyday use.
For further guidance on optimizing your PC setup or troubleshooting motherboard-related issues, explore Tutorlinkers’ comprehensive resources on motherboard installation and PC hardware setup.
Additional Resources and External Links
To expand your knowledge further, here are some external resources and links related to HD Audio and motherboard connectivity:
- Intel’s guide on motherboard connectors
- AMD’s tips for motherboard installation
- Tom’s Hardware on troubleshooting audio issues
Visual Aids and Tables
For visual learners, here’s a table illustrating the pin configuration of a typical HD Audio connector:
| Pin Number | Function |
|---|---|
| 1 | Port Presence Detect |
| 2 | Ground |
| 3 | Port 2 Jack Sense |
| 4 | +5V (VBUS) |
| 5 | Port 2 Return |
| 6 | SENSE_SEND |
| 7 | Port 1 Jack Sense |
| 8 | Key (no pin) |
| 9 | Port 1 Return |
| 10 | Not connected or Key (no pin) |
Optimizing for Featured Snippets
To enhance visibility in search results, ensure that your content provides concise answers to common queries such as “Where does HD Audio connect on a motherboard?” and “How to troubleshoot HD Audio issues.” Use bullet points and numbered lists where applicable to facilitate easy reading and comprehension.
For more knowledgeable blog keep visiting us.
