In the realm of computer hardware troubleshooting, the appearance of a red light on your motherboard can signal various issues ranging from minor to critical. Motherboard indicator lights, often in the form of LEDs, serve as diagnostic tools to alert users to potential problems with hardware components. Understanding the implications of a red light on motherboard and knowing how to respond effectively can help maintain the stability and longevity of your computer system.
Introduction to Motherboard Indicator Lights
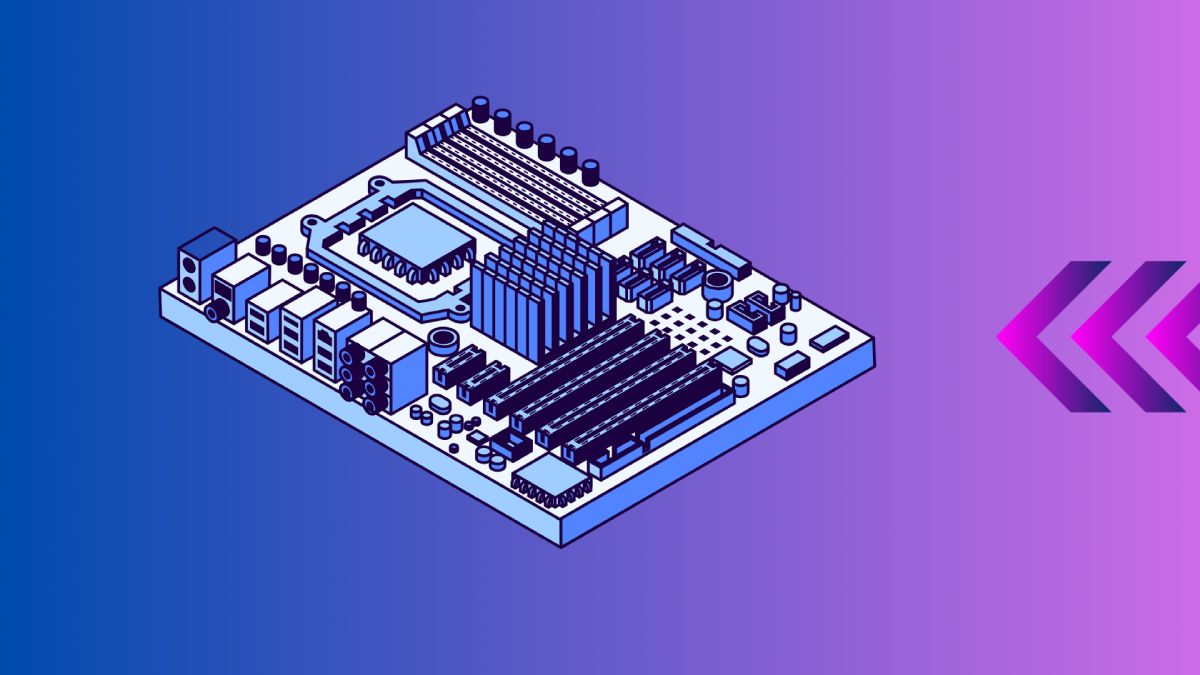
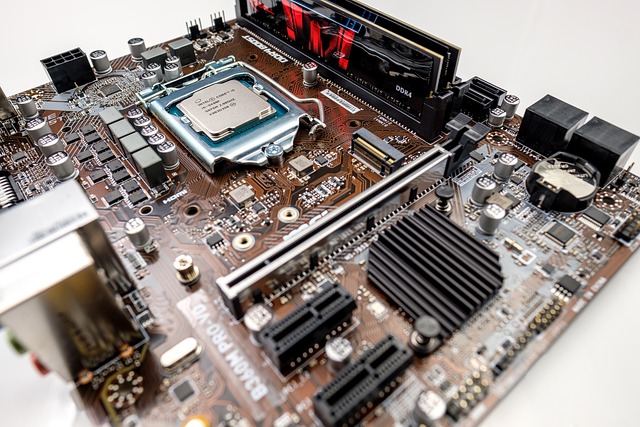
Modern motherboards are equipped with indicator lights strategically placed near key components such as the CPU socket, RAM slots, or PCIe (Peripheral Component Interconnect Express) slots. These lights utilize different colors—red, green, yellow, etc.—to convey different statuses or alerts about the system’s operational health. While specific meanings can vary depending on the motherboard manufacturer and model, a red light generally indicates a significant issue that requires attention.
What Does a Red Light on Motherboard Indicate?
Interpreting the meaning of a red light on a motherboard requires consideration of several potential causes:
- Power Supply Issues
- Insufficient Power: One of the most common reasons for a red light is an inadequate power supply. If the PSU (Power Supply Unit) fails to deliver sufficient power to components, the motherboard may signal this with a red light near the power connectors or other relevant areas.
- PSU Connectors: Ensure all power cables from the PSU are securely connected to the motherboard and its peripherals. Loose or improperly seated connectors can trigger red lights.
- Hardware Faults
- CPU Issues: Problems with the CPU (Central Processing Unit), such as overheating, incorrect installation, or compatibility issues, can cause the motherboard to display a red light. CPUs are sensitive to heat and improper handling, so ensuring proper cooling and installation procedures are crucial.
- RAM Issues: Faulty or improperly installed RAM (Random Access Memory) modules can also lead to red lights. Verify that RAM sticks are firmly seated in their slots and are compatible with the motherboard’s specifications.
- Graphics Card (GPU) Issues
- GPU Failure: A malfunctioning graphics card or issues with the PCIe slot connection can result in a red light on the motherboard. Check the GPU for physical damage, ensure it is properly seated in the PCIe slot, and verify that the GPU power connectors are secure.
- PCIe Slot Problems: Sometimes, issues with the PCIe slot itself, such as dust accumulation or electrical contact problems, can trigger red lights. Inspecting and cleaning the PCIe slot may resolve such issues.
- Overheating
- Component Overheating: Many modern motherboards incorporate thermal sensors and indicator lights to alert users to overheating components. Overheating can occur due to inadequate cooling solutions, improper airflow within the case, or heavy workload on the system. Red lights near the CPU socket or VRM (Voltage Regulator Module) areas often indicate thermal issues.
Troubleshooting Steps to Resolve Red Light Issues
Encountering a red light on your motherboard doesn’t necessarily indicate a catastrophic failure. Here are systematic steps you can take to diagnose and potentially resolve the issue:
- Step 1: Check Power Supply
- Verify that the PSU is functioning correctly and providing adequate power to all components. Consider using a PSU tester or swapping with a known-good PSU to rule out power supply issues.
- Ensure all power cables are securely connected to the motherboard, GPU, CPU, and other components.
- Step 2: Inspect Hardware Connections
- Carefully inspect all hardware connections, including CPU, RAM, GPU, and storage devices. Ensure components are properly seated in their respective slots and that all connectors are firmly attached.
- Reseat components if necessary, as loose connections can lead to malfunction and trigger indicator lights.
- Step 3: Test Individual Components
- Remove and reseat individual components such as the CPU, RAM, and GPU. Test each component separately to identify any faulty hardware.
- Use diagnostic tools like memtest86+ for RAM testing or stress testing utilities like Prime95 for CPU stability testing.
- Step 4: Utilize Diagnostic Software
- Many motherboard manufacturers provide diagnostic software that can help identify hardware issues. Install and run the manufacturer-provided diagnostic tools to analyze system health and identify the specific cause of the red light.
- Check the motherboard’s BIOS (Basic Input/Output System) settings for any error messages or warnings related to hardware components.
- Step 5: Monitor Component Temperatures
- Install temperature monitoring software such as HWMonitor or Core Temp to monitor CPU and GPU temperatures in real-time.
- Address any overheating issues by improving cooling solutions, such as adding additional case fans, upgrading CPU/GPU coolers, or reapplying thermal paste.
Consulting Manufacturer Resources and Community Support
For additional guidance and support in troubleshooting motherboard indicator lights:
- Manufacturer’s Manual: Refer to the motherboard’s user manual or online documentation provided by the manufacturer. These resources typically include a section on troubleshooting and interpreting indicator lights.
- Online Forums and Communities: Engage with online tech forums and communities where experienced users and professionals can provide advice and share their troubleshooting experiences.
- Customer Support: Contact the motherboard manufacturer’s customer support for personalized assistance and guidance. Manufacturers often offer warranty support and can provide specific troubleshooting steps based on your system configuration.
Advanced Troubleshooting Techniques
In cases where standard troubleshooting steps do not resolve the issue, consider these advanced techniques:
- BIOS Updates: Ensure the motherboard’s BIOS is up to date. BIOS updates often include fixes for compatibility issues with new hardware and can resolve certain red light indicators.
- Professional Diagnostics: If you lack the technical expertise or tools to diagnose the problem, consider consulting a professional computer repair technician or bringing your system to a reputable repair shop.
- Hardware Replacement: As a last resort, consider replacing suspected faulty hardware components, such as the PSU, CPU, RAM, or GPU. Ensure compatibility with your motherboard and other system components.
Conclusion: Ensuring Long-Term System Health
Understanding the implications of a red light on your motherboard empowers you to take proactive steps in diagnosing and resolving hardware issues effectively. By following the systematic troubleshooting steps outlined and leveraging manufacturer resources, you can often identify and rectify the problem without extensive downtime or expense.
Regular maintenance, monitoring, and prompt action when issues arise are essential to maintaining the health and performance of your computer system. Stay informed about your hardware specifications, keep your components clean and well-ventilated, and seek professional help when needed to ensure your system operates smoothly for years to come.
For more in-depth articles on motherboard troubleshooting, hardware maintenance tips, and other tech-related topics, visit Tutorlinkers today.
Table: Common Causes of Red Lights on Motherboards
| Issue | Description |
|---|---|
| Insufficient Power Supply | Ensure PSU provides adequate power. |
| Improper PSU Connectors | Check all power connectors for secure attachment. |
| CPU or RAM Issues | Verify correct installation and functionality of CPU and RAM. |
| GPU or Peripheral Failures | Inspect graphics card and other peripherals for faults. |
| Overheating Components | Monitor component temperatures and assess cooling solutions. |
For more useful knowledge keep visiting our blog.
