Replace motherboard is a critical task in computer maintenance and upgrades. Whether you’re aiming to boost performance, fix hardware issues, or prepare for future upgrades, understanding how to replace a motherboard is essential knowledge. In this detailed guide, we’ll walk you through each step, from preparation to post-installation checks, ensuring you can confidently tackle this process.
Why Replace Motherboard?
Your motherboard serves as the central nervous system of your computer, connecting all major components such as the CPU, RAM, storage devices, and expansion cards. Upgrading your motherboard can unlock new features, support faster processors, and improve overall system performance. On the other hand, replacing a faulty motherboard can restore functionality to a system experiencing stability issues or hardware failures.
Preparation: Gather Your Tools and Data
Before diving into the motherboard replacement process, it’s crucial to gather the necessary tools and prepare your data:
- Tools Needed:
- New Motherboard: Ensure compatibility with your existing components, including CPU socket type and RAM support.
- Screwdriver Set: Typically Phillips head screwdrivers are used, but check your case and components for specific requirements.
- Anti-Static Wrist Strap: Protect sensitive electronic components from static discharge during handling.
- Thermal Paste: Required if you’re installing a new CPU cooler or reseating an existing one.
- Data Backup:
- External Drive or Cloud Storage: Safeguard your files by backing up important data before starting the motherboard replacement process. This precaution ensures that your valuable documents, photos, and applications remain safe in case of unexpected issues during the upgrade.
Step-by-Step Guide to Replace Your Motherboard
Step 1: Shutdown and Preparation
Before you begin disassembling your computer, take the following steps to ensure a smooth transition:
- Power Down: Shut down your computer completely and unplug all cables from the power supply. This step prevents accidental damage to components and reduces the risk of electrical shock.
- Ground Yourself: To prevent static electricity from damaging sensitive components, use an anti-static wrist strap or periodically touch a grounded metal surface throughout the process.
Step 2: Removing Components
As you prepare to remove the existing motherboard, follow these steps to safely detach components:
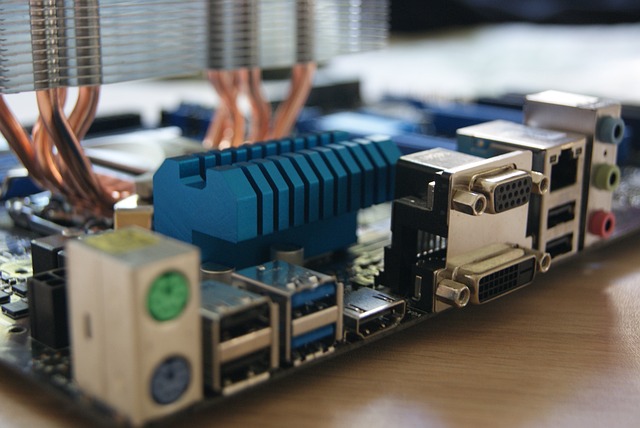
- Disconnect Cables: Remove all external cables connected to your computer, including power, video, and peripheral connections. Ensure that no cables are tangled or obstructing access to the motherboard.
- Remove Expansion Cards: Carefully detach any PCIe cards, such as graphics cards or network adapters, from their respective slots. Keep these components in a safe place for reinstallation later.
Step 3: Uninstalling the Old Motherboard
With your workspace prepared and components detached, proceed to remove the old motherboard:
- Locate Mounting Screws: Identify and remove the mounting screws securing the motherboard to the case. Refer to your computer’s user manual or manufacturer’s guidelines for specific screw locations and sizes.
- Disconnect Components: Carefully detach all remaining connections, including power supply cables, front panel connectors, and SATA cables for storage devices. Take note of each connection’s location to simplify the reassembly process with your new motherboard.
Step 4: Installing the New Motherboard
Once you’ve removed the old motherboard, it’s time to install the replacement motherboard:
- Align with Standoffs: Position the new motherboard within the case, aligning its screw holes with the pre-installed standoffs. These standoffs provide essential elevation and stability for your motherboard within the computer case.
- Secure with Screws: Gently tighten the mounting screws to secure the motherboard in place without over-tightening. Excessive force may damage delicate circuitry or cause misalignment, affecting your computer’s performance and stability.
Step 5: Connecting Components
With the new motherboard securely installed, proceed to reconnect critical components for optimal functionality:
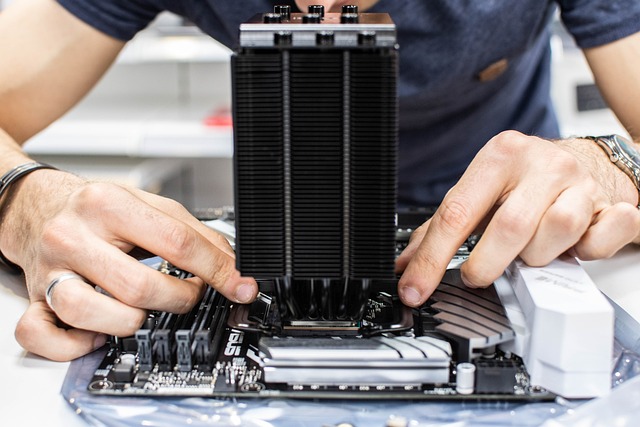
- Install CPU and Cooler: Insert the CPU into the motherboard’s socket according to manufacturer guidelines, ensuring proper alignment and secure latching. Apply a small, pea-sized amount of thermal paste to the CPU’s heat spreader before attaching the cooler.
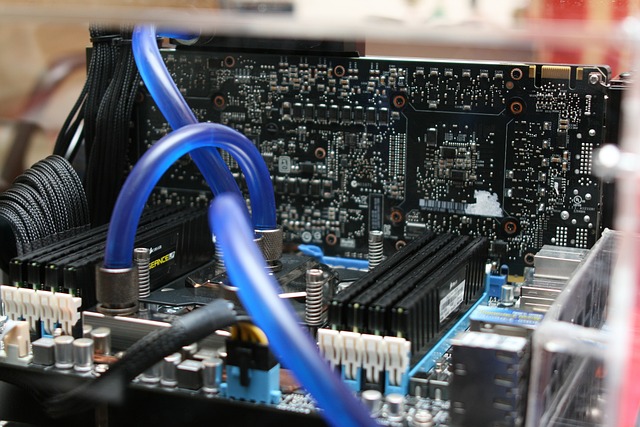
- Reinstall RAM: Insert your computer’s RAM modules into the motherboard’s designated slots, applying firm pressure until you hear a reassuring click. Verify that each module is securely seated to prevent memory-related issues during system operation.
- Connect Power Cables: Reattach the power supply’s cables to the motherboard, ensuring a secure fit without bending or damaging delicate pins. Double-check each connection’s alignment and orientation to prevent potential short circuits or power delivery failures.
Step 6: Cable Management
Maintaining tidy cable management is essential for optimizing airflow and preventing component interference:
- Organize Cables: Carefully route and secure cables along designated paths within the computer case, minimizing clutter and potential obstructions. Utilize cable ties or Velcro straps to bundle excess wiring and maintain a clean, streamlined appearance.
- Secure Connections: Double-check all cable connections for proper alignment and seating, verifying that each plug is firmly attached to its corresponding port or header. Loose or improperly secured cables may lead to system instability or intermittent connectivity issues.
Step 7: Testing
After completing the physical installation and cable management tasks, perform thorough testing to ensure your computer’s new motherboard functions as expected:
- Power On and POST: Power on your computer and observe the initial Power-On Self-Test (POST) sequence displayed on-screen. Monitor for any error messages or unusual behavior that may indicate hardware compatibility issues or installation errors.
- Access BIOS/UEFI: Enter your computer’s BIOS (Basic Input/Output System) or UEFI (Unified Extensible Firmware Interface) settings to review system information and configure essential parameters. Verify that the motherboard correctly identifies installed hardware components, including the CPU, RAM, and storage devices.
- Stress Testing: Utilize software tools or diagnostic utilities to conduct stress tests on your computer’s CPU, GPU, and memory subsystems. These tests help identify potential performance bottlenecks, overheating concerns, or stability issues that may require further troubleshooting or adjustment.
Post-Installation
Upon successful testing and validation of your new motherboard’s functionality, proceed with the following post-installation tasks:
- Install Device Drivers: Download and install the latest device drivers and firmware updates for your motherboard and connected hardware components. These updates often include performance optimizations, bug fixes, and compatibility enhancements that improve overall system reliability and functionality.
- Update Operating System: Ensure your computer’s operating system (OS) is up-to-date with the latest security patches, software updates, and feature enhancements. Regular OS updates help mitigate potential vulnerabilities and ensure compatibility with newly installed hardware components.
- Activate Security Software: Enable or update antivirus software, firewall protection, and other security measures to safeguard your computer against online threats, malicious software, and unauthorized access attempts.
Final Checks and Conclusion
Before concluding the motherboard replacement process, perform thorough final checks and validations to confirm system stability and operational readiness:
- Data Verification: Verify the integrity and accessibility of stored data, documents, and multimedia files stored on your computer’s storage devices. Restore any necessary backups or recover lost data using reliable data recovery tools or services.
- Functional Testing: Test critical system functions, including internet connectivity, audio output, peripheral device compatibility, and software application performance. Ensure all installed hardware components and software applications function correctly without unexpected errors or interruptions.
- User Acceptance: Solicit feedback from end-users or stakeholders regarding system performance, usability, and overall satisfaction with the motherboard replacement process. Address any reported issues or concerns promptly to maintain optimal productivity and user experience.
Conclusion
In conclusion, replacing a motherboard is a complex yet rewarding endeavor that enhances your computer’s performance, reliability, and functionality. By following this comprehensive guide and adhering to best practices for hardware installation and configuration, you can successfully upgrade or repair your computer’s central component. Remember to exercise caution, patience, and attention to detail throughout each step of the motherboard replacement process to achieve optimal results and minimize potential risks.
External Resources for Further Reading:
For additional insights and expert advice on motherboard replacement and computer hardware upgrades, consider exploring the following external resources:
- Tom’s Hardware Guide on Motherboard Replacement
- PC Gamer’s Step-by-Step Guide
- TechRadar’s Motherboard Buying Guide
Related Articles:
For related topics and in-depth coverage of computer hardware upgrades and maintenance, check out these informative articles:
Summary
For quick reference, here’s a concise summary table outlining the essential steps involved in replacing a motherboard:
| Step | Action |
|---|---|
| 1. | Shutdown and disconnect all cables. |
| 2. | Remove components like GPU, RAM, and CPU cooler. |
| 3. | Unscrew old motherboard and disconnect all connections. |
| 4. | Install new motherboard, aligning it with case standoffs. |
| 5. | Reconnect components and cables, ensuring secure connections. |
| 6. | Power on, enter BIOS/UEFI, and verify recognition. |
| 7. | Install drivers, update firmware, and perform stress tests. |
For more useful knowledge keep visiting us.
