Detailed Guide to Connect Fans to Your Motherboard
Proper cooling is crucial for a gaming PC’s performance and longevity. Ensuring your fans are connected correctly to your motherboard not only helps maintain optimal temperatures but also enhances your system’s stability and lifespan. In this comprehensive guide, we’ll walk you through the process of connecting fans to your motherboard, ensuring your PC stays cool and runs efficiently.
Understanding Fan Types and Connections
Before we dive into the installation process, it’s important to understand the different types of fans and connectors you’ll encounter.
Types of Fans
- Case Fans: These are mounted on your PC case to improve airflow and cool internal components. They come in various sizes, typically ranging from 80mm to 140mm, with 120mm being the most common. Case fans can be configured as intake (pulling cool air in) or exhaust (pushing warm air out).
- CPU Fans: These are specifically designed to cool your CPU and are typically part of a larger heatsink or liquid cooling system. CPU fans can be stock coolers that come with the processor or aftermarket solutions that offer better performance.
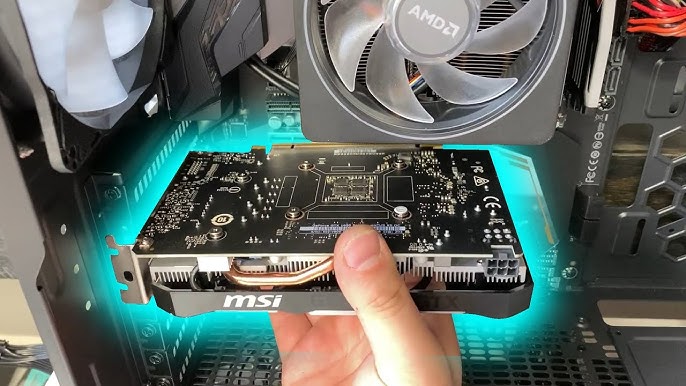
- GPU Fans: These are integrated into your graphics card to cool the GPU and its components. Unlike case and CPU fans, GPU fans are managed by the graphics card itself and are not directly connected to the motherboard.

Types of Connectors
- 3-Pin Connectors: These provide power and a speed signal but do not support PWM (Pulse Width Modulation) control. The three pins correspond to power, ground, and tachometer (RPM signal).
- 4-Pin PWM Connectors: These allow for precise fan speed control through PWM signals, offering better temperature regulation. The fourth pin in the connector enables the motherboard to send PWM signals to adjust the fan speed dynamically based on temperature readings.
- Molex Connectors: These older connectors provide power directly from the power supply unit (PSU) and are less common in modern builds. Molex connectors do not allow for speed control, meaning the fans run at a constant speed.
Preparing for Installation
Before connecting your fans, gather the necessary tools and take appropriate safety precautions.
Tools and Materials Needed
- Screwdrivers: Both Phillips and flathead screwdrivers may be needed depending on your case and fan screws.
- Anti-static wrist strap: This helps prevent static electricity from damaging your components.
- Fan splitter or hub (if necessary): If you have more fans than available headers on your motherboard, a splitter or hub will be required.
Safety Precautions
- Ground Yourself: Wear an anti-static wrist strap or regularly touch a metal part of your case to discharge static electricity. This is crucial to avoid damaging sensitive components.
- Power Down: Ensure your PC is powered off and unplugged from the wall outlet. Disconnect any peripherals and press the power button for a few seconds to discharge any remaining power in the system.
Locating Fan Headers on the Motherboard
To connect your fans, you’ll need to locate the appropriate headers on your motherboard.
Reading the Motherboard Manual
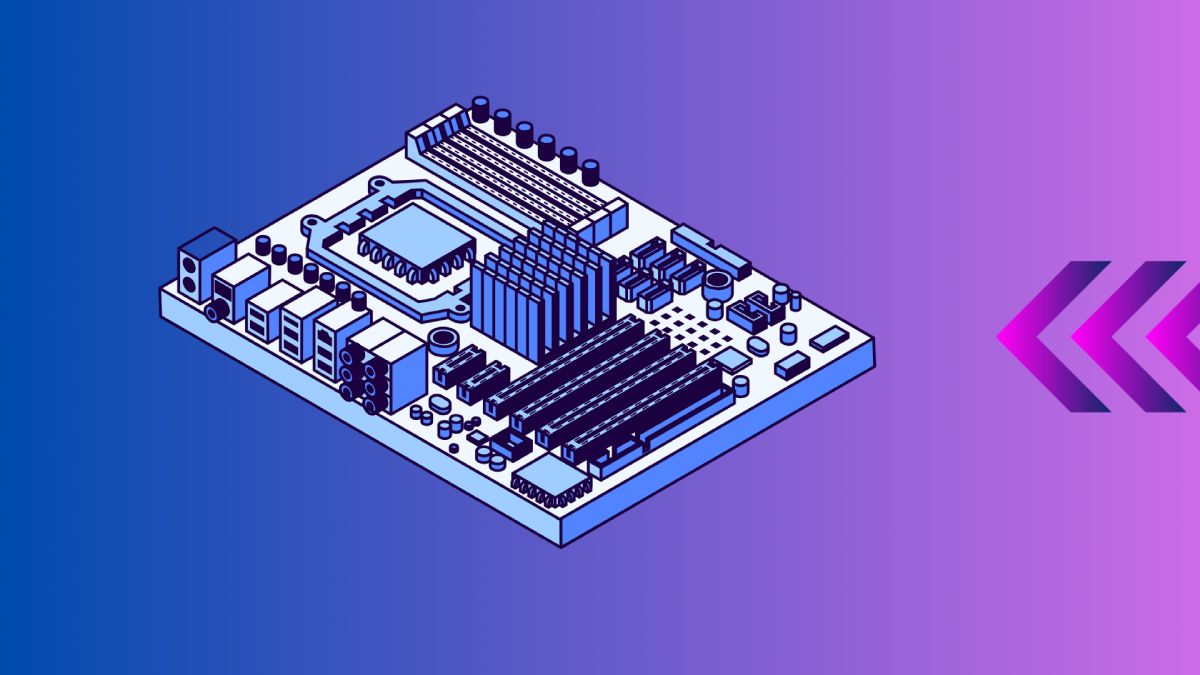
Your motherboard’s manual is an invaluable resource. It will provide a detailed layout of the board, including the locations and labels of all fan headers. Look for terms like CPU_FAN, SYS_FAN, and CHA_FAN. Manuals often include diagrams that make it easy to identify the exact location of each header.
Identifying Header Locations on the Motherboard
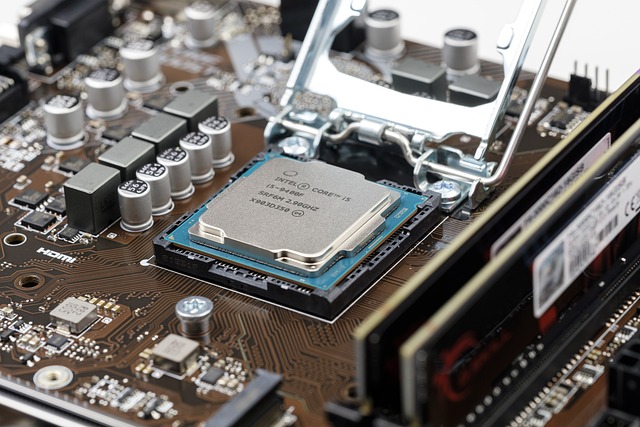
Headers are typically small, white, or black plastic connectors with pins protruding from them. They’re usually located around the edges of the motherboard, close to where the fans will be installed. For example, CPU_FAN headers are typically near the CPU socket, while SYS_FAN headers can be found along the edges.
Connecting the Fans
Now that you’ve located the headers, let’s connect the fans.
Case Fans
- Position the Fan: Ensure the fan is positioned to push air in the correct direction. Most fans have arrows indicating airflow direction. The fan blades should face the inside of the case for intake fans and the outside for exhaust fans.
- Connect the Fan: Plug the fan’s connector into the appropriate SYS_FAN or CHA_FAN header on the motherboard. If using a 3-pin fan on a 4-pin header, it will still work, but without PWM control.
- Secure the Fan: Use screws to mount the fan securely to your case. Ensure the screws are tight but not over-tightened, as this can damage the fan or case.
CPU Fans
- Position the Cooler: If using an air cooler, attach the fan to the heatsink. For liquid coolers, attach the radiator fans to the radiator.
- Connect the Fan: Plug the fan connector into the CPU_FAN header. For multiple fans, use a splitter if necessary. It’s essential to connect to the correct header to ensure the CPU fan receives priority control signals.
- Secure the Cooler: Ensure the cooler is firmly attached to the CPU, following the manufacturer’s instructions for installation. This usually involves securing the cooler with a mounting bracket and thermal paste.
Using Fan Splitters or Hubs
If you have more fans than headers, you can use a splitter or hub.
- Connect the Splitter/Hub: Plug the splitter or hub into an available fan header. Splitters allow multiple fans to connect to a single header, while hubs often come with their own power supply connection to handle higher power loads.
- Connect the Fans: Attach the fans to the splitter or hub. Ensure the total power draw does not exceed the header’s capacity. Splitters are typically limited to two or three fans per header, while hubs can support more.
Configuring Fan Settings in BIOS/UEFI
After connecting the fans, it’s important to configure their settings in the BIOS/UEFI to optimize performance.
Accessing the BIOS/UEFI
- Enter BIOS/UEFI: Restart your PC and press the key (usually DEL or F2) indicated during startup to enter the BIOS/UEFI. This key may vary depending on your motherboard manufacturer.
Adjusting Fan Speed and Profiles
- Navigate to Fan Settings: Look for a section labeled “Fan Control” or “Hardware Monitor.” This is where you’ll find options to adjust fan settings.
- Set Fan Curves: Adjust the fan speed curve to balance noise and cooling. This usually involves setting fan speeds at various temperature thresholds. For example, you can set the fans to run at 40% speed at 30°C and gradually increase to 100% at 70°C.
- PWM vs. Voltage Control: If using PWM fans, ensure they are set to PWM mode. For 3-pin fans, use voltage control. PWM control allows for more precise fan speed adjustments based on temperature readings.
- Pre-set Profiles and Custom Settings: Many BIOS/UEFI interfaces offer pre-set profiles for different scenarios, such as “Silent,” “Standard,” and “Performance.” You can also create custom profiles to suit your specific needs.
Testing and Troubleshooting
Once you’ve connected and configured your fans, it’s time to test and troubleshoot any issues.

Testing Fan Operation
- Power On: Turn on your PC and ensure all fans are spinning. Visually inspect each fan to confirm it’s operational.
- Monitor Temperatures: Use software like HWMonitor, SpeedFan, or your motherboard’s proprietary software to check temperatures and fan speeds. Ensure that temperatures are within safe limits and that fans are responding to temperature changes.
Troubleshooting Common Issues
- Fan Not Spinning: Check connections and ensure the fan header is enabled in the BIOS. Confirm that the fan is receiving power and that there are no obstructions preventing it from spinning.
- Noise Issues: Adjust fan curves or check for obstructions. Sometimes fans can be noisy due to loose screws or cables interfering with the blades.
- Uneven Cooling: Ensure all fans are correctly positioned and functioning. Check that intake and exhaust fans are balanced to avoid creating hot spots within the case.
Additional Tips and Resources
Optimizing Airflow
- Positive vs. Negative Pressure: Aim for a balanced airflow to prevent dust buildup. Positive pressure means more intake fans than exhaust fans, which helps keep dust out. Negative pressure means more exhaust fans, which can lead to dust accumulation.
- Fan Placement: Place intake fans at the front/bottom and exhaust fans at the rear/top. This arrangement promotes a natural airflow pattern that aligns with the heat rising principle.
Software Tools
- Fan Control Software: Tools like SpeedFan or your motherboard’s proprietary software can provide advanced fan control options. These tools allow you to set custom fan curves and monitor temperatures in real-time.
- Temperature Monitoring: Use tools like HWMonitor or Core Temp to keep an eye on system temperatures. Regular monitoring helps identify potential cooling issues before they become serious.
Conclusion
Properly connecting fans to your motherboard is essential for maintaining optimal temperatures and ensuring the longevity of your gaming PC. By following this comprehensive guide, you’ll be able to keep your system cool and running efficiently.
For more detailed guides and tips on PC building and maintenance, check out our other articles on Tutorlinkers. Additionally, this external guide on PC cooling from PC Gamer provides excellent insights into optimizing your PC’s cooling system.
Table of Fan Connectors
| Fan Type | Connector Type | Control Method | Common Location |
|---|---|---|---|
| Case Fan | 3-pin, 4-pin | Voltage, PWM | Case (Front, Rear, Top) |
| CPU Fan | 4-pin | PWM | Near CPU Socket |
| GPU Fan | Proprietary | Automatic | Integrated on GPU |
Common BIOS/UEFI Settings for Fan Control
| Setting | Description |
|---|---|
| Fan Speed Curve | Adjusts fan speed based on temperature |
| PWM Mode | Enables precise control of 4-pin fans |
| Voltage Control Mode | Controls speed of 3-pin fans via voltage |
| Fan Profile Presets | Pre-configured settings for noise/performance |
Further Reading and External Resources
- How to Choose the Best Fan for Your PC – Tom’s Hardware
- Understanding PC Cooling: Fans, Heatsinks, and Water Cooling – AnandTech
- Improving Your PC’s Cooling System – PC Gamer
By following these guidelines and utilizing the resources provided, you’ll ensure your gaming PC remains cool and efficient, enhancing both performance and longevity. Happy building!
For more useful knowledge keep visiting our Blog.


